Have you ever noticed that double consonants - as it might be "zz" or "ff" - make words look so much more interesting?
Blizard and
trufles don't have nearly the same oomph as their twin-consonanted counterparts.
Today we have snow both inside...
...and out.
A blizzard is sweeping across the Midwest, making it a very good day to stay home and crochet (with plenty of tea-and-truffle breaks).
Truffles have got to be one of the simplest (and best) candies ever. Just chocolate and cream, with optional flavourings of your choice, are all the ingredients you need to make these nuggets of heavenly richness and delight.
To make your own truffles, start with a 1:2 ratio of cream to chocolate. (Heavy cream and dark chocolate work best.) By 1:2 ratio, I mean
1 fluid ounce of cream for every 2 ounces by weight of chocolate. I used a half-pint (8 fluid ounces) of cream to a pound (16 ounces) of chocolate for each of my batches. You can of course use metric measurements if you like - just preserve the ratio.
A pound of chocolate, with a half-pint of cream, will yield about 35-40 1" truffles.
Note: Do NOT use "chocolate candy coating" to make truffles - it won't work. :)
Quickest Truffles:
First weigh your chocolate - break it up if necessary. I like to use good quality semi-sweet chocolate chips, with a 3.5-oz. Lindt 70% bar thrown in - this gives a dark, edgy truffle with very little sweetness. (Using all semi-sweet chocolate chips works too and gives a slightly sweeter truffle.)
Tip for breaking up a chocolate bar: Leave it in the wrapper. Place on a folded towel, and thwack it with a rolling pin. Go up and down, from end to end, in both directions. Flip it over and thwack some more.
Peel it open, and there you are:
Some recipes tell you to chop the chocolate, but I find this tedious and unnecessary. :)
Now
heat your cream to boiling (in a roomy pot), then
remove from heat and dump the chocolate in:
Start stirring....
It will look like gloppy chocolate milk at first, but don't give up. After a minute or two, a magical transformation begins:
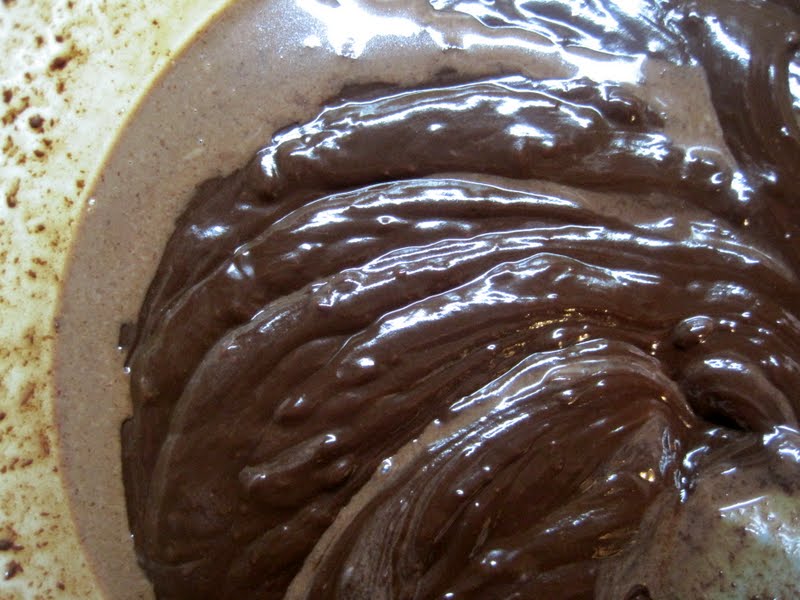
Keep stirring, and soon you'll have a glossy, silky, utterly tempting pan of chocolatey goodness just begging to be tasted.
Now's the time to add any flavouring. Liqueurs and liquid extracts, such as lemon, orange, or mint, work very well. You could also use a very strong espresso, or coffee essence if you have it. Start with a little (perhaps 1/2 teaspoonful), adding more if necessary. As a conscientious cook, you'll want to taste the mixture repeatedly while stirring in the flavourings.
You can also divide your plain truffle mixture into more than one bowl, and flavour each one separately.
For this batch, I'm using peanut butter (several tablespoonsful):
That's it for the first step. Set the bowl in a cool place (a freezing porch works really well for us) and let the mixture firm up.
Slightly Fussier Method, with Infused Cream:
After weighing chocolate, place it in a heat-proof bowl and set aside. (You can if you like put the bowl in a 250º oven while the cream is heating - this will give you a head start on melting the chocolate.)
To infuse the cream, first choose your flavours. I used the zest of one orange; you could also use fresh mint leaves, whole or ground spices, or anything that takes your fancy. Place the flavouring in a pan, and pour the cream over.
Heat the cream to boiling, then pour it into your bowl of chocolate. For smooth truffles, strain out any flavouring bits.
Stir until smooth and glossy, and check flavour. (My mixture wasn't nearly orangey enough, so I added some orange extract.) When mixture is to your taste, set aside to cool.
Here are my two truffle mixtures cooling:
The peanut-butter batch is slightly gritty-looking, and the fussy orange-infused batch is satiny-smooth. (Both taste wonderful.)
When the mixture is cool but not hard, scoop it into little lumps on a baking sheet lined with parchment, waxed paper, or silicone mat. The lumps need not be smooth - you will take care of that later.
Pop the baking sheet into the freezer for 5-10 minutes to firm up the chocolate. While the lumps are firming up, get your coating ready in a small bowl.
Suggested coatings: Cocoa powder, finely grated coconut, chopped toasted nuts. (You can use sugar, but it will soak up moisture from the truffles and become sticky. Confectioner's sugar, on the other hand, will dry out and become slightly crunchy. Go figure.)
Take the baking sheet out of the freezer, and one by one, roll the truffles quickly in your hands to smooth the surface. Then drop them in the bowl of coating. You can roll the truffles in the coating, or use a small dish with a lid and shake them. Whether rolling or shaking, do 3 or 4 at a time.
My orange-infused truffles were rolled in either finely ground, unsweetened coconut, or plain cocoa powder. The peanut butter truffles were rolled in chopped toasted peanuts, and sprinkled with a tiny bit of coarse salt.
As you coat the truffles, put them right back on the baking sheet. When all are coated, chill once more until firm. Try not to sample too many. You want to share these with loved ones, right?
Store finished truffles in the refrigerator, in a sealed container. When you hear them calling your name (and they will call your name), pull out a truffle or two. Let them come up to room temperature while you make a cup of tea or coffee, then enjoy!
I will leave you with a few more snow pictures, taken this morning when the storm was still young:
 |
| Heavy-laden pine |
 |
Squirrel's eye view from the garage door -
already a good 6" deep,
and hours of snow yet to come. |
Happy winter!
~ ~ ~ ~ ~ ~ ~ ~ ~ ~ ~ ~