
Unexpected joys just might be the best kind. The pleasures we anticipate often fall short in reality, but those moments of delight which take us by surprise, having no expectations to live up to, leave no room for disappointment.
Here's one such moment from last month. I went outside to hang some laundry on the line, and saw this growing against the house wall:
 |
| A violet in November! |
It made my day.
~
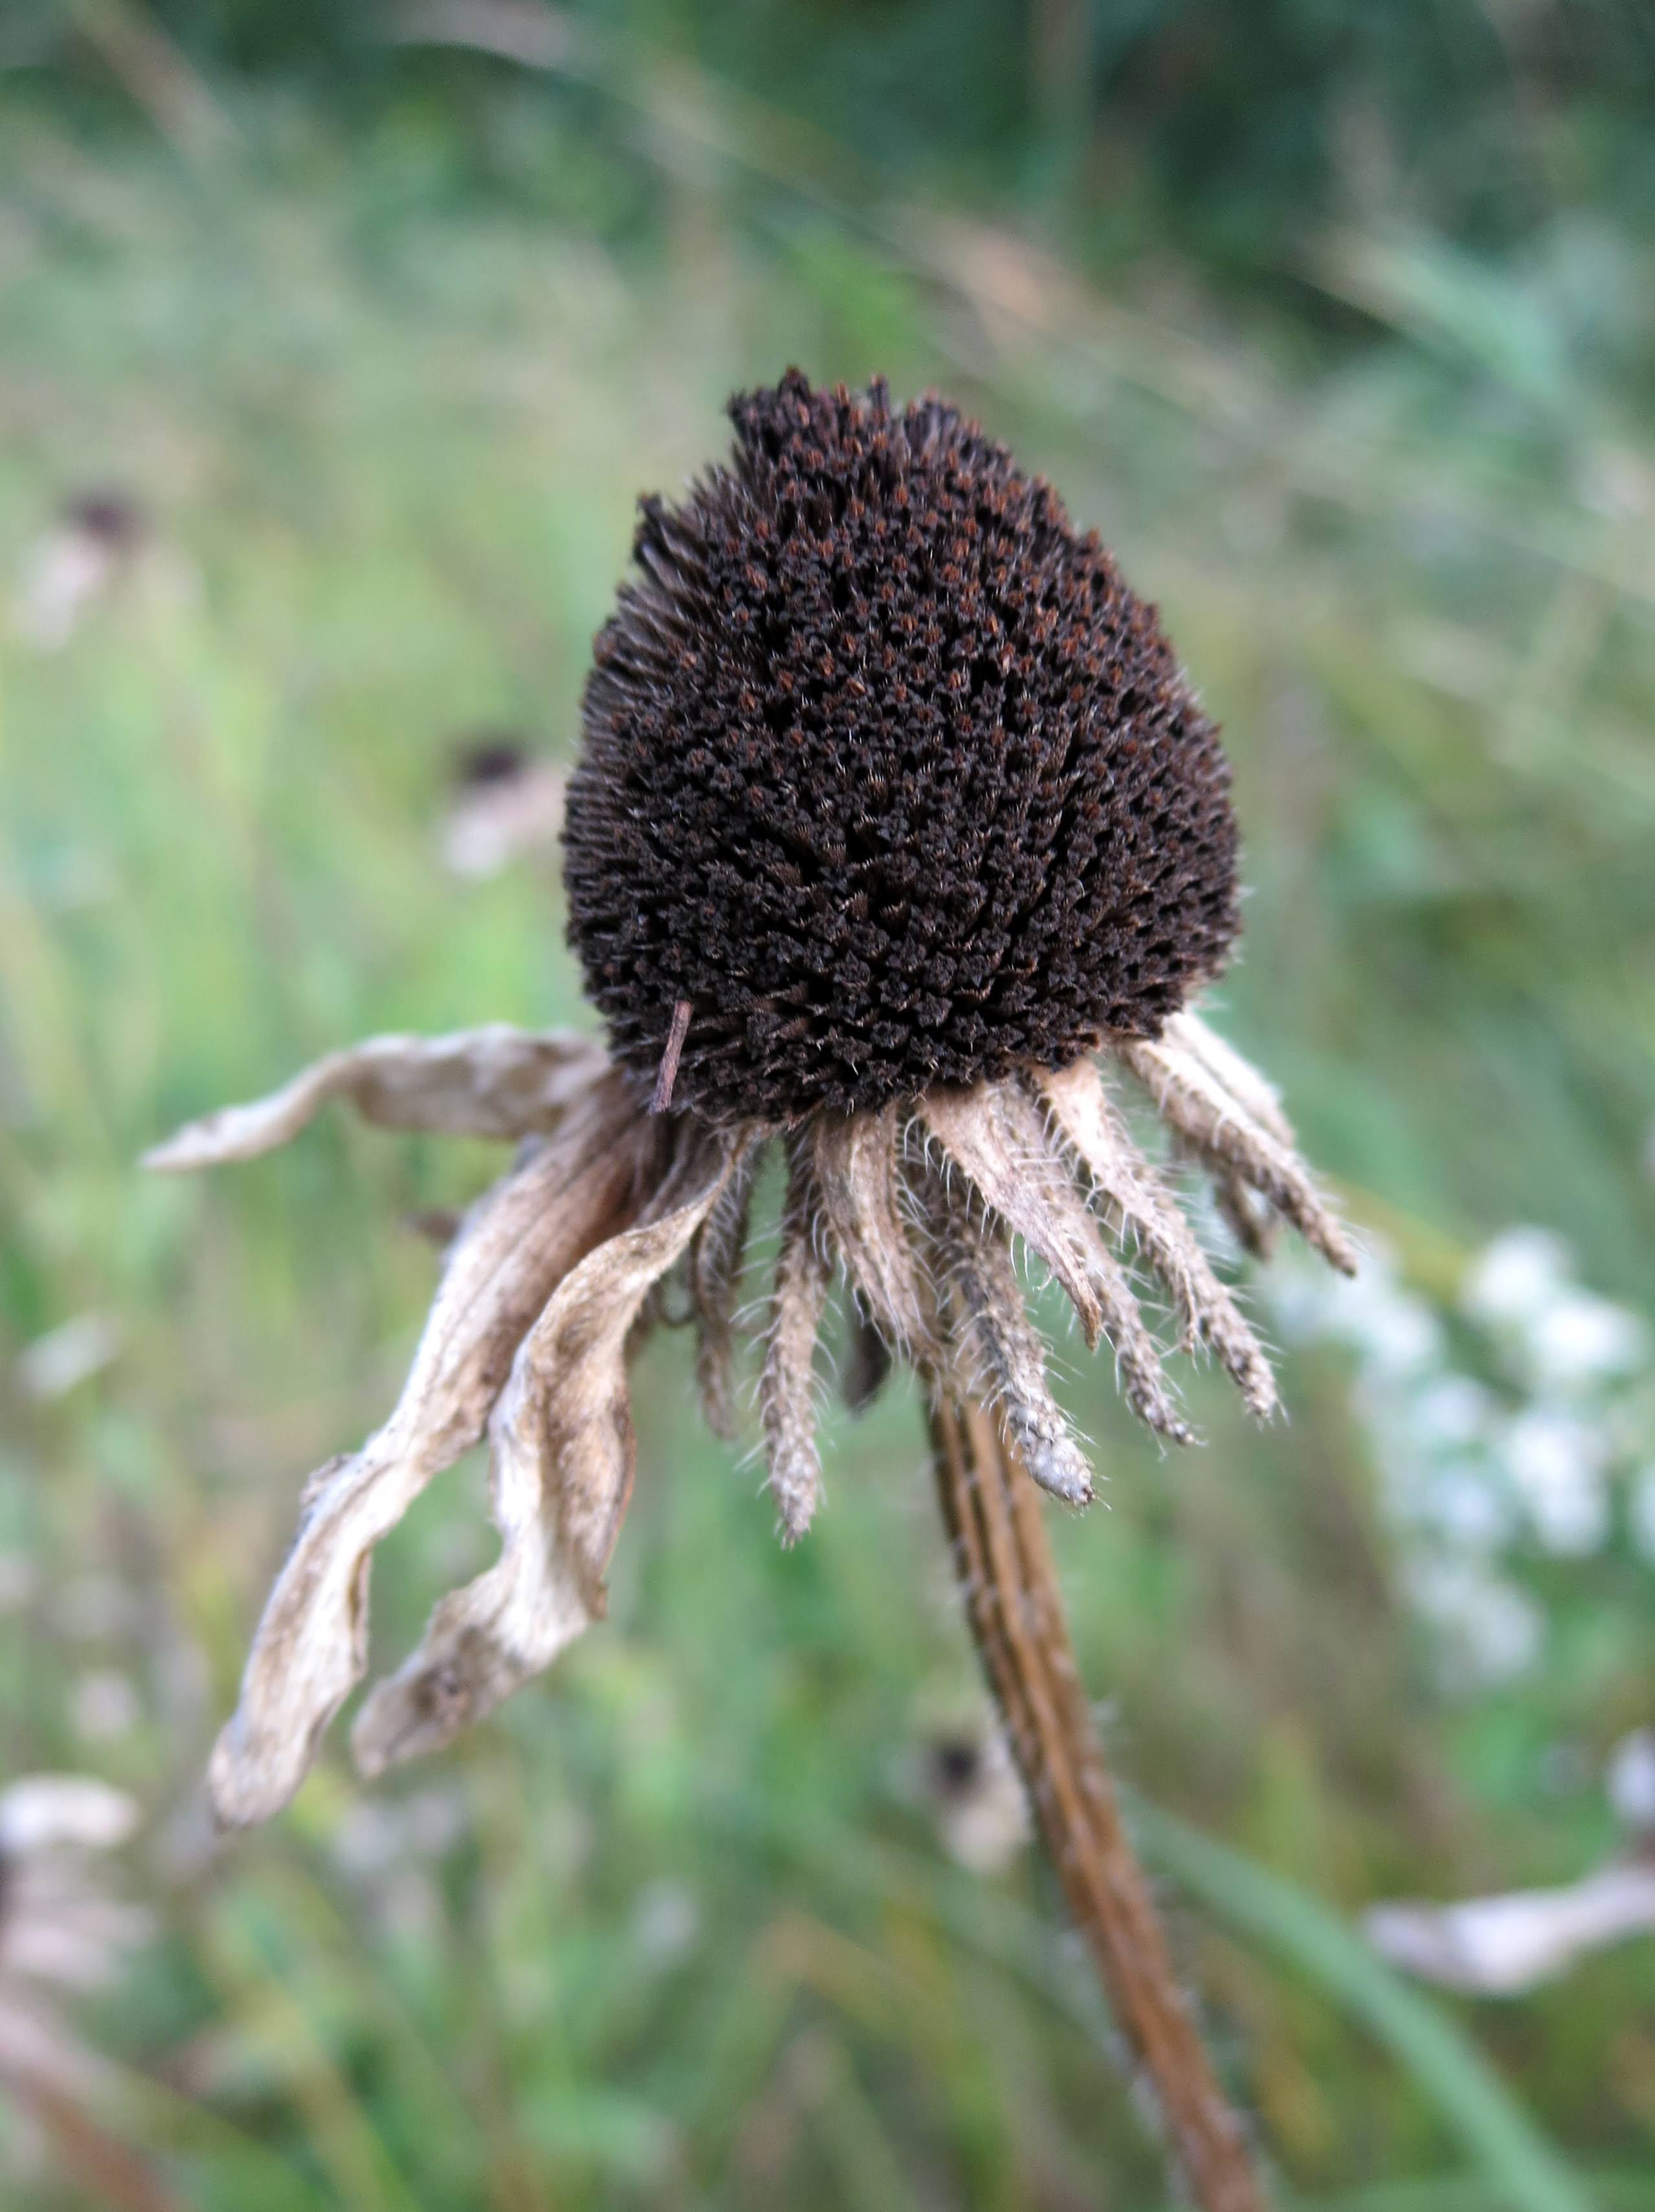
Some joys come a bit sooner than we expect, like this year's first appreciable snowfall.
On the last Sunday in November, we woke to an inch of snow on the ground, with more falling. Suddenly the thought of Christmas decorations seemed right and proper - much more so than in the mild fall days preceding. Though I've never belonged to the put-up-the-tree-the-day-after-Thanksgiving school, preferring instead to deck the halls closer to Christmas (and leave the decorations up well into January to cheer the bleakest stretch of winter), this snow made me think again.
I didn't put up any decorations that day, but I did take a walk to admire nature's efforts:


The following weekend we got our Covid vaccinations, along with another snowfall. So inspiring was it (the snow, I mean) that I ignored my sore arm and vaccine-induced achiness and fatigue, and put up the Christmas tree and some lights - then had to lie down for a nap. That's all the decorating I've achieved to date, but there's no rush; ornaments will follow in due time.
~
Our lovely few inches of snow slowly shrank and melted off last week as the temperatures rose, culminating in yet another unexpected joy: a Friday in the 50s, and a rare December bike ride!
The air was warm(ish) in the sun, and chilly in the shade. A cool wind did its best to dry roads still damp from snowmelt, while traces of the white stuff lingered in shady areas:


What a treat to take a road ride in December, and add a few unexpected miles to my yearly tally (which now stands at 1019; you can read about all my 2023 rides here).
~
Which do you prefer: planned-for pleasures that include the sweets of anticipation, or unexpected joys?
~ ~ ~ ~ ~ ~ ~ ~ ~ ~ ~ ~


%20John%20Rosford,%20some%20rights%20reserved%20(CC%20BY).jpg)


