Showing posts with label MMABO. Show all posts

Saturday, August 22, 2015

Binding Off Knitted Projects with a Crochet Hook, Part 1: Introduction and Basic Bind Off

I’m a crocheter first and a knitter second. Moving yarn with a hook is second nature to me; manipulating it between two needles is not. So when it comes to binding off, a process which involves slipping loops off needles and through each other, I naturally turn to my hooks – because slipping loops through other loops is what a crochet hook does best.


Many knitters and crocheters are aware of the standard crochet bind off (see tutorials below), but did you know that almost any knitted bind off can be worked with a hook? And that using a hook can reduce the number of steps involved?

In this series we'll take a look at several popular bind offs and “translate” them for use with a crochet hook. If you’re a knitter who’s never bound off with a hook, or (like me) a crocheter who knits and would like to expand your bind off repertoire, give these methods a try. You’ll be surprised at how straightforward they can be, and you'll gain the skills needed to adapt any knitted bind off for use with a crochet hook.

Note: The purpose of this series is not to rate or compare bind offs, but to encourage stitchers to try something new. This series does not address sewn bind offs.

Some Important Preliminaries

1. Yarning Over and Yarning Under

Yarn over, yarn under - does it really matter which way the loop goes? YES! The way the loop is twisted directly affects the appearance and performance of the completed stitch. Yarning over (or under) in the wrong direction at the wrong time can produce a tight, twisted stitch - which can turn a stretchy bind off into a strangled bind off.

All yarn overs/yarn unders used in this series will be made crochetwise.

So what's the difference between a crochet yarn over and a crochet yarn under? How do they compare to a knitting yarn over?
  • To yarn over in crochet, start with the hook in front and the yarn in back. Move the tip of the hook under the yarn, then up and behind it. The yarn should wrap over the hook from back to front.
  • To yarn under in crochet, move the tip of the hook over the yarn, then down behind it, then up towards you. The yarn should wrap over the hook from front to back.
A knitting yarn over is the same as a crochet yarn under. Is your head spinning yet? :)


2. Type of Hook

An inline hook is a good choice for binding off.

What is an inline hook? A hook with a straight throat and a non-bulging head. Your knitting needles don't have bulges at their tips, and neither should the crochet hook you use to bind off your knitted projects. You want a hook that can slip easily and smoothly into the loops on your knitting needle.


3. Hook Size

Use a hook the same size as, or smaller than, the knitting needles you used.

If your hook is too large, your bind off may be sloppy. If you're worried that a small hook might create a tight bind off, practice relaxing your tension. Experiment to find the best hook size for your project.

~ ~ ~

Basic Crochet Bind Off Video Tutorial

This video shows you how to knit and purl a basic crochet bind off, and how to safely frog your bind off in case of mistakes.


~ ~ ~

Basic 
Crochet Bind Off Photo Tutorial

To bind off knit stitches:

1. Insert hook knitwise into first stitch, and knit the stitch (yarn under, pull a loop of yarn through knit stitch from back to front; keeping loop on hook, slip knit stitch off needle):


2. Repeat with the next stitch. You should now have 2 loops on your hook.
Draw the second loop through the first loop. You should now have 1 loop on your hook:


Repeat step 1 with the next stitch (now you'll have 2 loops on your hook again), then draw the second loop through the first loop (back to 1 loop now). Repeat across knit stitches until all are bound off.
  • To minimise these steps: insert hook knitwise, slip stitch off needle, yarn UNDER and draw through both loops on hook (see video for demonstration). Be careful to maintain relaxed tension.

To bind off a purl stitch:

Assuming you already have a loop on your hook....

1. With working yarn in front of work, insert hook purlwise into stitch.
2. Wrap yarn from front of hook to back of hook (yes, this is a yarn under, but instead of scooping the yarn with your hook you'll probably wrap it with your finger or "throw" it in some way).
3. Push the hook up and backwards through the stitch, taking the yarn with it.
4. Slide the loop off the needle.
Draw second loop through first loop (sorry, no photo for this step).

  • To minimise these steps: insert hook purlwise, slip stitch off needle, yarn UNDER and draw through both loops on hook (see video for demonstration). Be careful to maintain relaxed tension. (Note: Yarning under with the yarn in front is a bit awkward - you may need to grasp the yarn with the fingers of your left hand in order to wrap it properly before drawing it through the loops.)
~ ~ ~

Next week, in Part 2, we'll take hook in hand and tackle something a little more advanced: the Suspended Bind Off and Jeny's Super Stretchy Bind Off (JSSBO). So swatch up a bit of knitting, and don't forget to practice those crochet yarn overs and yarn unders.

Until then, happy knitting and crocheting!

P.S. Don't forget, the Flowery Giveaway is open until Sunday 8/30/15. Click on the button below to enter.


~ ~ ~ ~ ~ ~ ~ ~ ~ ~ ~ ~

Friday, January 30, 2015

More About MMABO ~ Purling and Ribbing

I'm still having all kinds of fun with MMABO, the crocheted bind off I accidentally invented (or unvented?) last November.

The good news: it still works.

The better news: you CAN use it for ribbing! (Gasps of amazement and delight resound around the knitting globe . . . in Mrs. M's dreams.)


Since the instructions for purling MMABO were not included in the original tutorial, I have included them below, followed by instructions for ribbing, and a video tutorial. For the original MMABO (knitwise) tutorial, click here.

Remember that MMABO works well with a hook that is smaller than your knitting needles.

A Note on Yarning Over

Crochet yarnovers are wrapped in the opposite direction to knit yarnovers. When working MMABO, be sure all yarnovers are made crochetwise. This will give your bind off the maximum amount of stretch and recovery.

To yarn over crochetwise: place the hook in front of the working yarn and scoop under the yarn to wrap yarn over hook.

Purling MMABO

To set up: Using your crochet hook, bind off the first 2 stitches purlwise. Slip the second loop (the one nearest the tip of your hook) through the first.

Holding yarn in front of the work, *insert hook purlwise (from back to front) through the stitch below the loop on your hook (where the working yarn comes out), yarn over and pull up a loop. Still keeping yarn in front of work, insert hook purlwise (from right to left, or left to right if you're working lefthanded) through (front of) next stitch on knitting needle, yarn over, slip stitch off needle (3 loops now on crochet hook), pull yarnover through all loops on hook. Repeat from *.

Note: When slipping the stitch off the needle, you can make the yarnover either before OR after you slip the stitch - it makes no difference. I tend to yarn over before slipping - not sure why..


Using MMABO on Ribbing

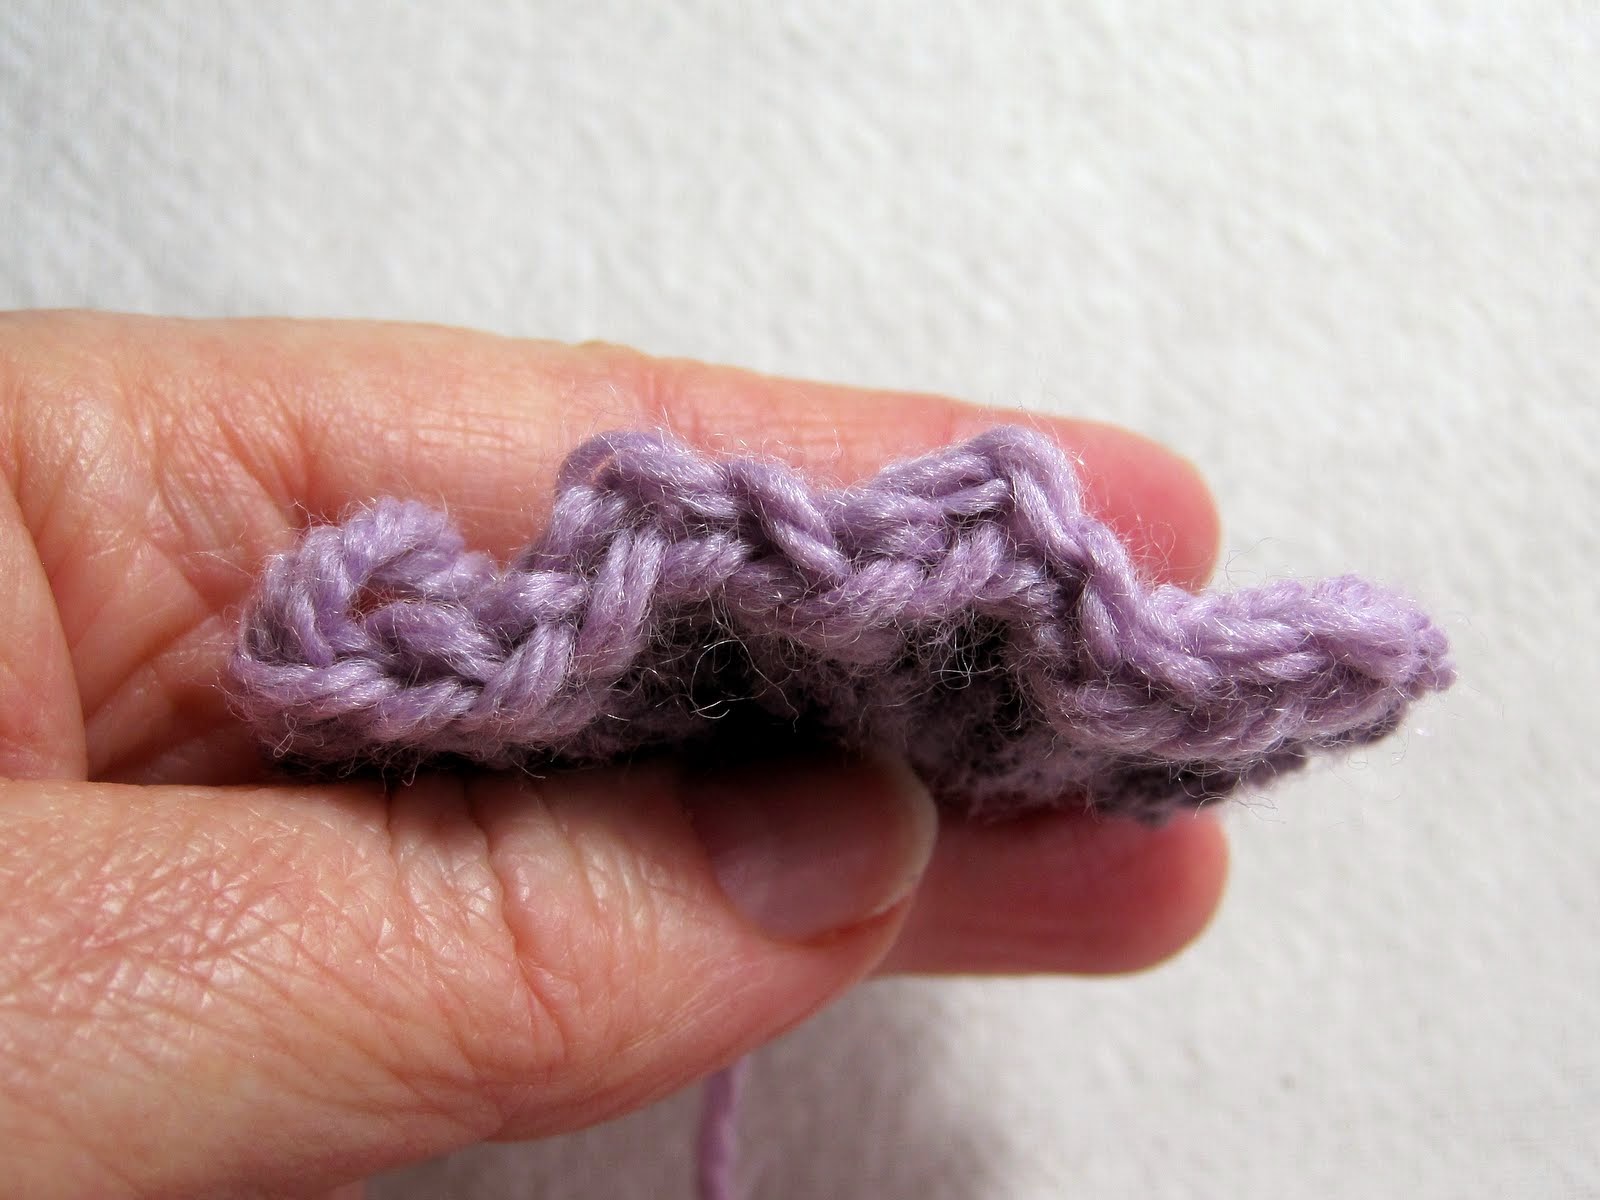
Despite its slight chunkiness, MMABO can be used very successfully on ribbing. Here's how it looks:


Binding off ribbing with MMABO is mostly straightforward: knit the knits and purl the purls, with one little tweak....

When using MMABO for ribbing, you need to think of each MMABO stitch as a two-part process:
Part One is when you insert your hook in the stitch below and pull up a loop. Part Two is when you insert the hook into the next stitch on the needle, slip it, then yarn over and pull through all loops on hook.

On both Part One and Part Two, you have a choice of working knitwise or purlwise, BUT:
  • No matter how you work Part One, Part Two is what defines your MMABO stitch as a knit or a purl.
The key to successfully using MMABO on ribbing is:
  • Always make Part One of the new stitch in the same orientation (knitwise or purlwise) as Part Two of the previous stitch. Then finish the new stitch according to what you want it to be: a knit or a purl.
For example: You're binding off in ribbing. Your previous stitch was a knit stitch, and your next needs to be purled. Part One of the new (purl) stitch needs to match Part Two of the previous (knit) stitch. So make Part One knitwise, by inserting your hook from front to back and pulling up a loop, then finish purlwise by inserting purlwise into the the next stitch on the needle. (And then, if the next stitch is another purl, you can make both Parts purlwise.)

If this seems too confusing, just remember: when starting a new MMABO stitch, look at the way the yarn comes out of the stitch you just made, then insert your hook through that loop in the same direction that the yarn is going.


How about a video? (You thought I'd never ask....)


Note: If you work MMABO in a contrasting colour yarn on ribbing, the purl sections will have little "blips" of the contrasting colour just below the bind off.

For enquiring minds who want to know why we match Part One of a new MMABO stitch to Part Two of the previous stitch: it preserves the proper wrap of the yarn and gives maximum stretch to the bind off.

~ ~ ~

If you have any questions, please feel free to ask using the comment box below; you can also email me or contact me in Ravelry (where I'm MrsMicawber).

Thanks for viewing, and happy binding off!

~ ~ ~

Speaking of binding off: what's your favourite bind off, and why?

~ ~ ~ ~ ~ ~ ~ ~ ~ ~ ~ ~

Sunday, December 7, 2014

MMABO Mitt ~ A Super Simple Free Knit Pattern with Easy Crocheted Bind Off

(So simple you could probably make one in the time it took to read that title....)

It's been pretty darn chilly in Wisconsin lately, and for me cold weather means cold hands - especially when I'm working on the computer. My right hand (or "mouse hand") gets extra chilly, so I like to keep a few fingerless mitts on my desk, ready to stave off mouse-induced frostbite.

Up till now my mitts have all been crocheted, but since MMABO (Mrs. M's Accidental Bind Off) entered my life a few weeks back, I've become rather addicted to it. I've spent way too much time binding off stockinette swatches just to see if the bind off really works (it does), and is really as stretchy as it seems (it is - see photo near end of post).

Then it struck me - if I made one of those swatches slightly wider and longer, and ran a seam up the side, I'd have a dandy little knitted mitt, and a really simple pattern to share.

It worked out pretty well:


Here's the super simple pattern:

MMABO Mitt

Materials:
~ Any yarn you like with the appropriate size needles
~ Crochet hook the same size as your needles or slightly smaller
~ Darning needle

Leaving an extra 10" tail, using long-tail cast on or your preferred stretchy cast-on, cast on enough stitches to fit loosely, but not floppily, around your wrist.
K 4 rows.
P 1 row.
Continue in stockinette (K 1 row, P 1 row) until piece measures 5½" (or to desired length), ending after K row.
K next row (WS facing).
Using a crochet hook the same size as, or smaller than, your needle size, bind off with MMABO (click here for tutorial). Bind off will be done RS facing.
Cut yarn and join top edge stitches with Invisible Join or preferred join.
Bring side edges together. Using starting tail, working RS facing, sew edges together to form a tube, leaving an opening for the thumb. (Use invisible garter stitch seam on first 4 rows, and mattress stitch seam on stockinette rows. Click here for an excellent tutorial on both techniques.)
Weave in ends and block as desired.

P.S. Disciplined knitters will block the mitt before seaming.


Some tips, ideas, and pattern notes:
  • You can of course use any stitch pattern you like for the body of the mitt.
  • A row of reverse stockinette worked just before binding off helps tame the curl of stockinette.
  • If you're handy with the dpns or circulars, work the mitt in the round to bottom of thumbhole, then back and forth to desired height of thumbhole, then in the round to the end.
  • A seaming option: leave a 6" tail at the top, and seam down to the top of the thumbhole, then use starting tail to seam from the bottom edge to bottom of thumbhole.
  • For a super simple MMABO coffee cup cozy, make a shorter swatch - say 17 or 18 rows - and seam it all the way up.
  • Lavender mitt was made with Plymouth Encore yarn, size 6 needles, and a US F/5 3.75mm hook to bind off. Mitt is 30 stitches wide x 35 rows of knitting tall (with bind off, 36 rows). Finished measurements after blocking: 6" tall by 6" around.
  • Green hand-dyed mitt was made with Superwash Merino DK by Ogle Design, size 7 needles, and a US F/5 3.75mm hook to bind off. Mitt is 27 stitches wide x 35 rows of knitting tall (with bind off, 36 rows). Finished measurements before blocking: 5½" tall by 5½" around. (I haven't blocked this mitt yet, as the yarn is so delightfully squishy it looks fine to me without blocking.
If you love to embellish, that smooth field of stockinette would make a lovely backdrop for some buttons, appliqué, or embroidery.


And did I mention that MMABO truly is stretchy? Here's an illustration:


MMABO Mitts are fun to make and fun to wear. They're perfect for a quick and custom gift - so get out that special bit of hand-dyed from your stash and whip up a pair today!

(Or, like me, you can make a single one for your mouse hand.)

You may do whatever you like with the items you make from this pattern, but you may not sell the pattern or reproduce its text without permission. Links are always welcome.

Thanks for viewing, and happy knitting (with crocheted bind offs)!

~ ~ ~ ~ ~ ~ ~ ~ ~ ~ ~ ~