Saturday, December 31, 2011

A Frosty Walk to the Post Office

There are two ways to the post office from where we live. The shortest and most direct route is to go straight down Main Street, past several blocks of houses and businesses, with constant traffic for company.

Then there is the road less travelled - a circuitous route which winds through the neighbourhood and out into open country, finishing up on a quiet back lane which eventually leads to the post office.

Guess which route I prefer?

Having a birthday card to post, a head fuzzy with fatigue, and some tens of thousands of Christmas calories to work off, I set out with card and camera this morning to combine virtue with economy, and get a bit of fresh air and exercise. Snow fell yesterday, and today's sky is grey with clouds and damp.

The twigs and grasses are all furred with frost. Some look like velvet:


And some like lace.


The chains under this parked semi remind me of corsets.


Frosted grapes hang from a chain-link fence...


 ...and their wild vine loops and curls along the wire.


The trees look blurred and softened in the moistness of the air.


Even the plainest weeds on the verge are glorified by their coating of frost.


Champagne-coloured grasses stand out against a misty backdrop of bare branches...


...and glimmer with dainty fairy-like beauty before this bright blue-sided house.


A weed hanging out over the curb has a stylized, elegant line.


This small tree stands naked and dignified in the snow...


...in the lacy shadow of its larger brothers...


...while dappled leaves lie around their feet.


Back in the neighbourhood, oaks rustle leathery brown leaves which will hang on until spring.


This snowy stepping-stone leads seemingly nowhere.


Snow on the side of the water tower (which I always thought was white) looks like Chantilly lace over pale blue velvet.


Since the sidewalks are icy and I forgot my Yaktrax, I stay on the grass until I get home.


Full of fresh air, I'm awake and ready to tackle the housework. I could have put the card in the mailbox for the carrier to pick up - but this was much more fun.

~ ~ ~ ~ ~ ~ ~ ~ ~ ~ ~ ~

Thursday, December 29, 2011

A Clean Start

The guests are gone, leaving warm memories and a pile of sheets to wash - which seems somehow appropriate. Christmas behind, the New Year ahead: a good time for cleaning up and making fresh starts. (Although heaven knows I did enough cleaning before and during Christmas.)

Somewhere in the last month or two I came across a reference to homemade laundry detergent. (I really thought it was on Mrs. Thrifty Household's excellent blog, but I can't find any related posts there. Perhaps it was in a comment.) Mr. M and I love to make our own cleaners -  thus saving money, sparing our allergies, helping the environment, and politely thumbing our noses at Dow and Messrs Procter & Gamble, all in one happy chemical-free swoop. So you can be sure that when I read the words "homemade laundry detergent" I perked up my virtual ears and followed the Google trail of soap crumbs (mixing metaphors as I went) to this recipe for powdered laundry soap at the "Make Your Own" zone.

Nothing could be simpler: grate a bar of Fels Naphtha soap...


...add a box of Borax and a box of Washing Soda (washing, mind you, not baking)...


...mix well, then put into any handy container. Add a spare scoop or measuring cup, and there you are!

2 tablespoons will wash an entire load.

I mixed up my batch in a large bowl, which did make me sneeze a bit as the borax got into the air. Next time I'll probably shake it up in a (recycled) plastic bag.

We've done five or six loads with our new laundry soap, and the clothes and towels came out clean and fresh-smelling. One less plastic bottle in our lives; a bit more money in our wallets; fewer surfactants, optical brighteners, and other nasty things in the water supply. A win-win situation.

This mixture also makes a dandy all-around cleaner for heavily soiled floors and sticky baked-on stove grease. (Use sparingly, scrub with a damp sponge or rag, and rinse well.) I plan to try cleaning the bathroom with it next.

And now I have a date in the laundry room with a pile of dirty sheets...

P.S. If you decide to try this recipe yourself, give the box of borax a good allover thumping and massage before you open it. This will help eliminate lumps.

~ ~ ~ ~ ~ ~ ~ ~ ~ ~ ~ ~

Sunday, December 25, 2011

Merry Christmas to All!

(Hand-quilted tree skirt made by my sister)


Somebody got crocheted slippers for Christmas...

Our littlest reveller


Christmas red and green

After-dinner walk with niece and nephew


A beautiful afternoon


~ ~ ~ ~ ~ ~ ~ ~ ~ ~ ~ ~

Friday, December 23, 2011

Making Even More Winter: Tiny Mitten, Crochet Version

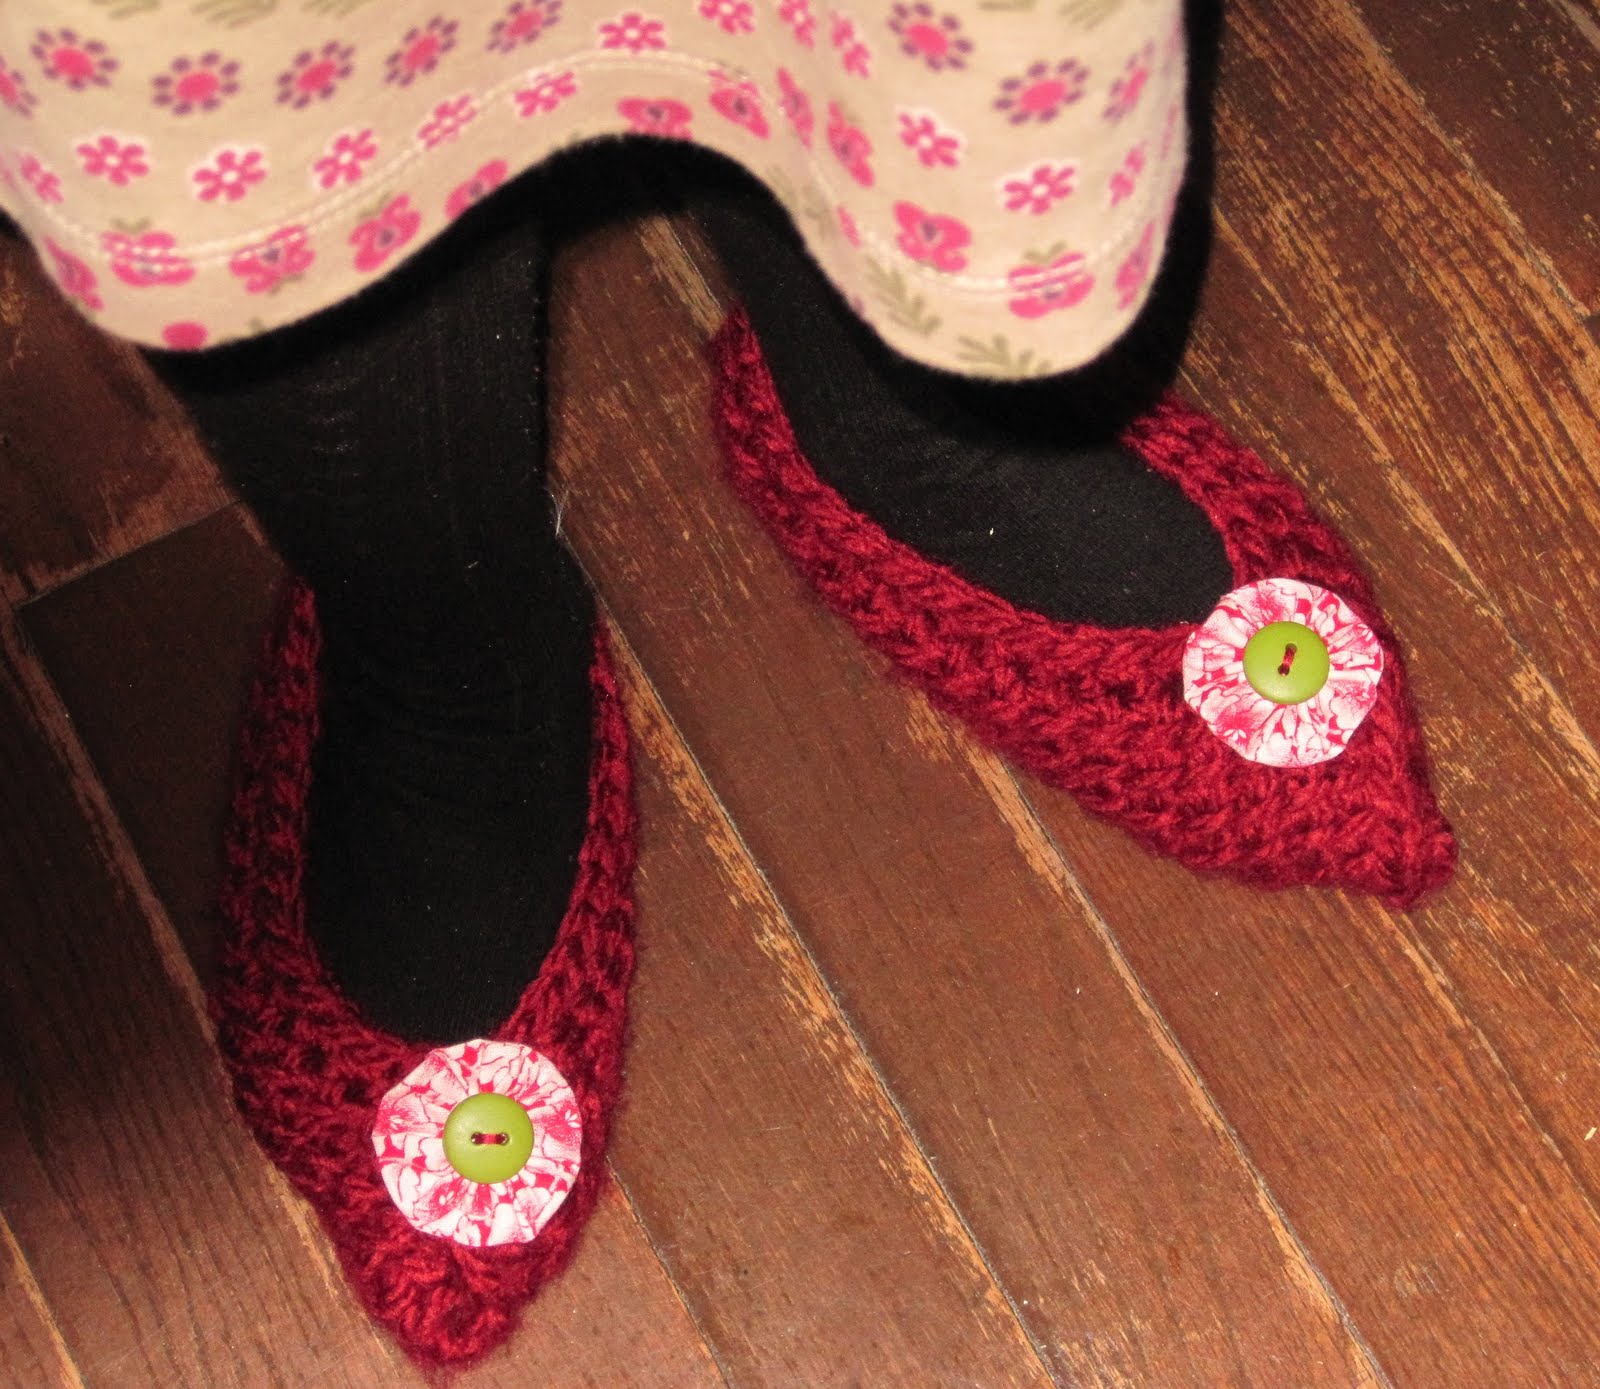
Just in case you've got some extra time on your hands this weekend (HA!) - here's the crochet version of the Tiny Mitten. At just 1½" long, it's fast, fun (and only a bit fiddly about the thumb), and can be embellished or simply left as is.

I used some leftover NaturallyCaron Spa yarn and a G hook. You may use any yarn you like, with the appropriate size hook.

Make a Magic Ring, and chain 1:


Double crochet 9 in the ring:


And pull yarn end to tighten. This is the tip of your mitten.
The side facing you will be the WRONG side (or inside) of the mitten.


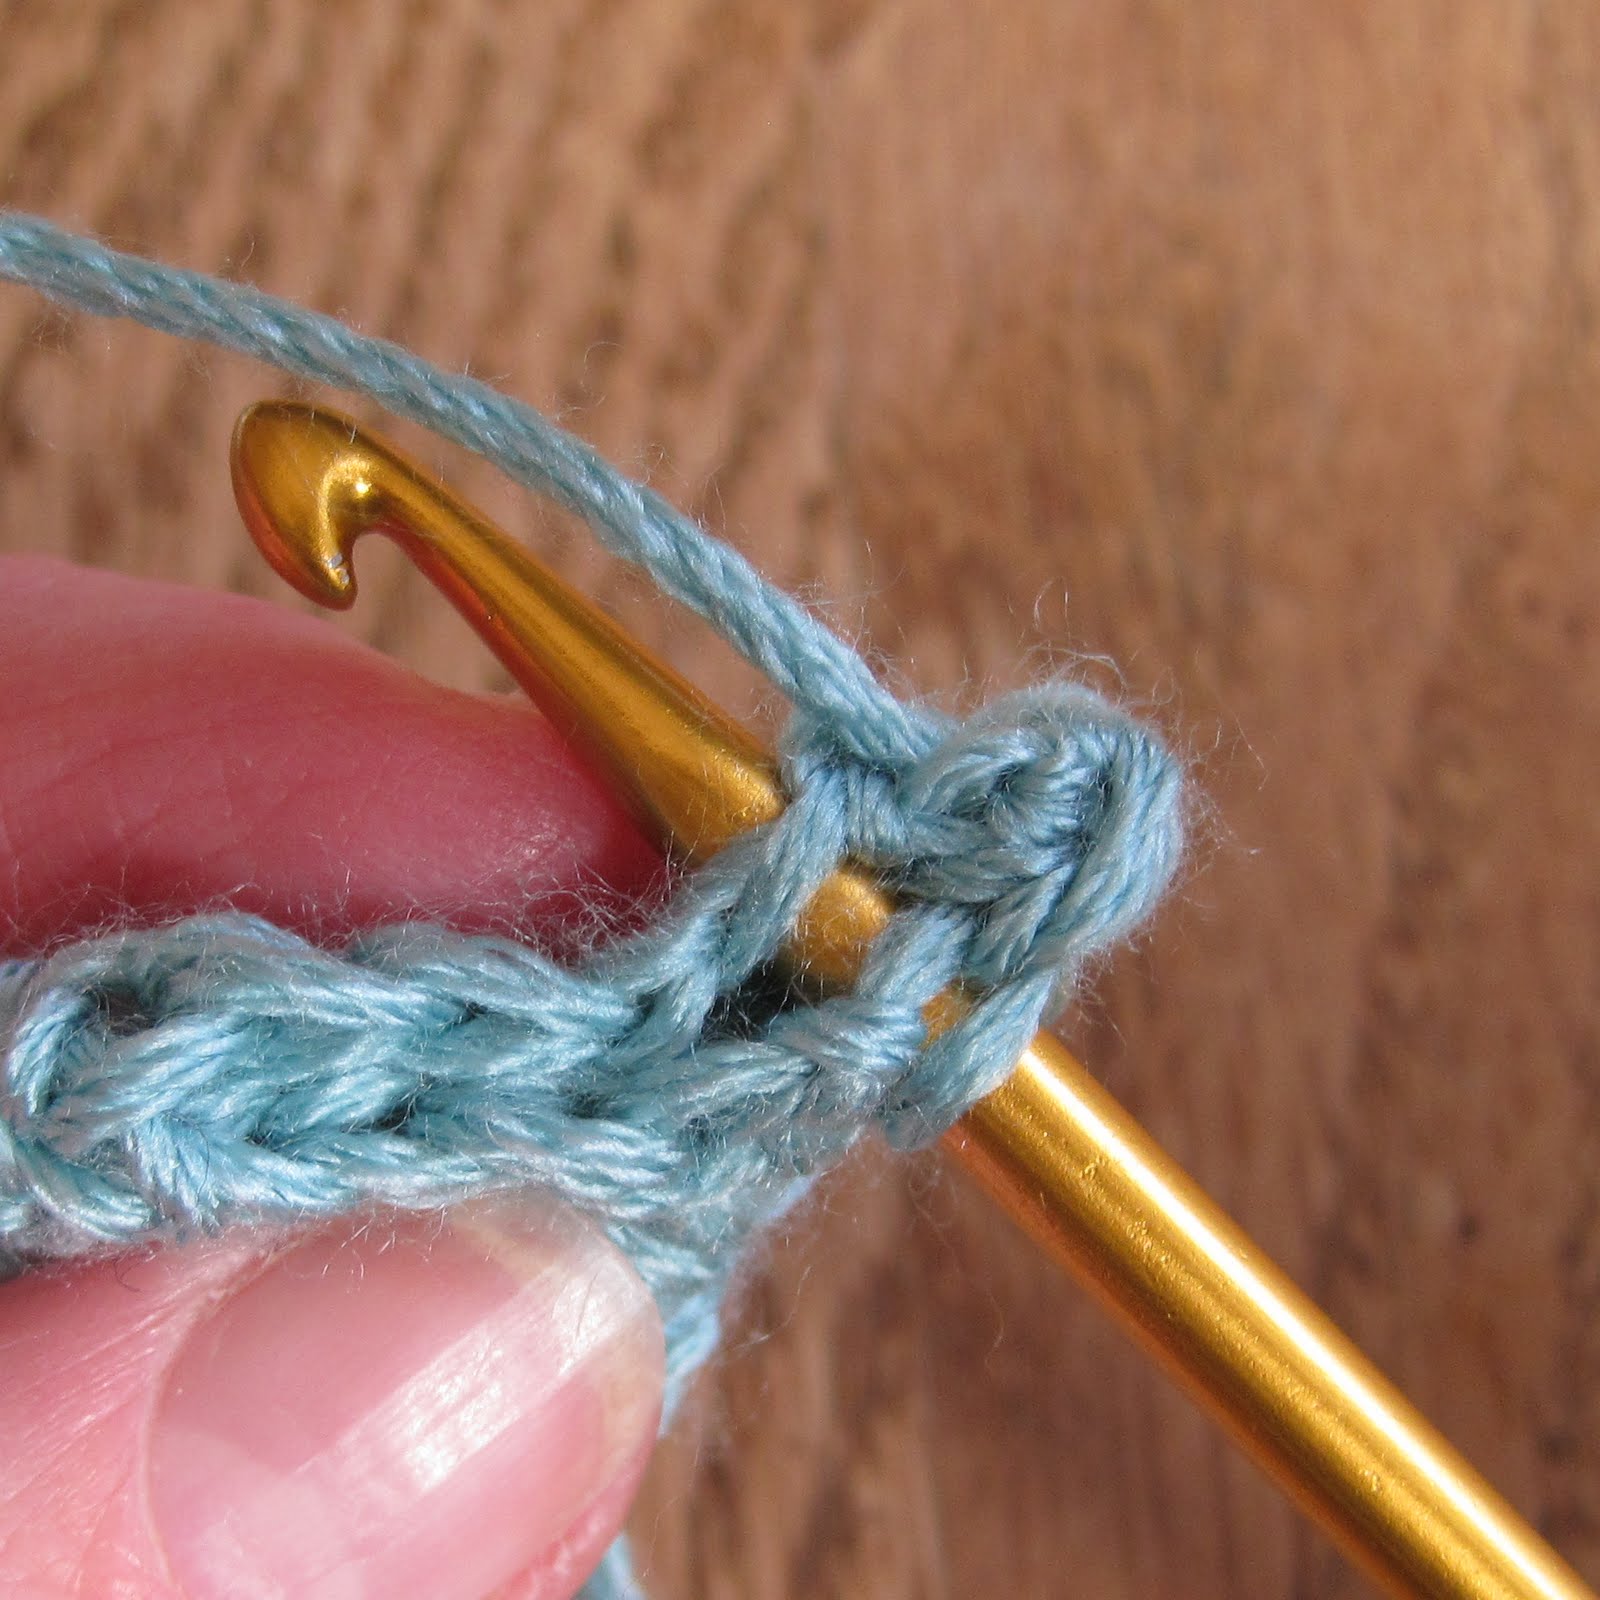
Join last double crochet to first double crochet with a slip stitch.
Chain 1, and single crochet in same space. DO NOT TURN.
Look at the two left "legs" of the single crochet you just made:


And insert your hook through them like this:


Make a single crochet in the "legs" (yarn over, pull through, then yarn over and pull through all loops on hook ).
I don't know the official name for this stitch, so I will call it a "stacked single crochet".
It's a different way of starting a double crochet row.


The stacked single crochet counts as your first double crochet.
DO NOT TURN.
Make 8 more double crochets around:


Close round with a slip stitch,
Chain 1, single crochet in same space,
and make another stacked single crochet to start a new round.


Crochet 8 more double crochets around.
Do not slip stitch this round closed: we're going to make the thumb now.

Look at the mitten: see the "U" shaped opening?
You will be crocheting down the side of the last double crochet you just made,
and up the side of the stacked single crochet which began the round.
(It will look like there are some empty stitches at the base of the "U". Ignore them.)


Thumb Row 1:
Chain 1 and get ready to go down the side of the double crochet you just made.
1. Single crochet 1 in the top "half" of the double crochet. Be sure to insert your hook through 2 strands only, not under the entire stitch.
2. LOOSELY slip stitch in the bottom half of that same double crochet. (Remember, go through 2 strands and not under the entire stitch.)
3. LOOSELY slip stitch in the bottom half of the stacked single crochet.
4. Single crochet 1 in the top half of the stacked single crochet.
5. Chain 1, TURN.


Thumb Row 2:
Working across the 4 stitches of Thumb Row 1,
make a partial half-double crochet (yarn over, insert hook in 1st stitch, yarn over, pull through);
then a partial single crochet (insert hook in next stitch, yarn over, pull through);
then another partial single crochet;
then another partial half-double crochet.

You should have 7 loops on your hook, like this:


Now yarn over, and draw through all the loops to close the tip of the thumb:


And gently tug on the yarn to tighten things up.

Chain 1, and slip stitch the thumb closed, working back towards the mitten.
The first slip stitch will go in the sides of Thumb Row 2.


First slip stitch made; here I am about to make the second slip stitch in Thumb Row 1:


And we have a thumb!
Do not turn work.
Make a stacked single crochet in 1st stitch of previous round;
double crochet 8 more around.
Slip stitch this round closed.
Only 1 more round to go.


Chain 1, TURN,
then single crochet around in the back loops only (where the dots are).


Join with slip stitch or invisible join, cut yarn, and weave in end.
Pull starting end of yarn to inside of mitten.
That's it!

Pretty cute, isn't it?

Now you can add whatever trim takes your fancy. See the Tiny Knit Mitten post for some embellishment ideas.

(Note: If you decide to do the lacy crochet thread trim from the Tiny Knit Mitten post, observe the following changes. Row 2 should be (sc, ch 3, sc, ch 5, sc) in each ch-3 loop. Since the crocheted mitten has an odd number of stitches around, this stitch pattern will work best and give the same effect.)

Here's to Happy Wintering and warm hands! (All this crocheting will help keep the blood flowing.) This post will be linked to December's Making Winter blog hop at Mrs. Thrifty Household. Hop on over and  check out all the wonderful crafty projects featured there.

~ ~ ~ ~ ~ ~ ~ ~ ~ ~ ~ ~